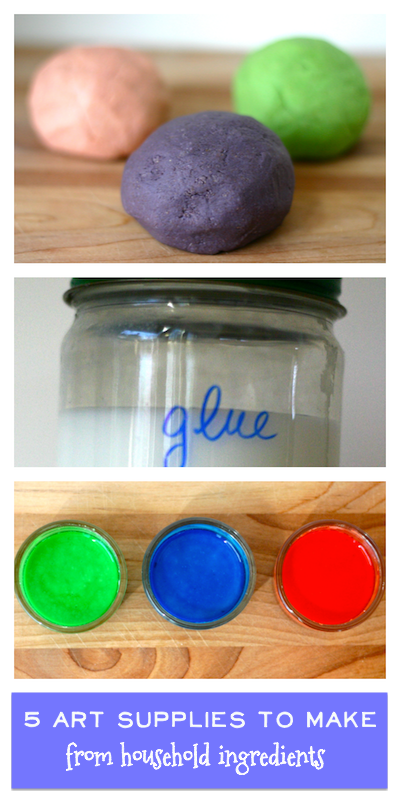
While there are many great options for non-toxic, natural art supplies for kids (see my post on ten of the best options), the best way to make sure that your children’s art supplies are totally safe is to make them yourself. Most kids’ art supplies can be made out of common household ingredients! Here are five easy recipes:
1. Organic modeling dough
Ingredients:
- 1 cup organic flour
- 1/2 cup kosher salt
- 2 Tbsp organic cold-pressed canola oil (or some other vegetable oil)
- 1 cup water
- 2 Tbsp cream of tartar
- natural dye
In a medium saucepan, combine flour, salt and oil. Mix in the water. Cook mixture over medium heat, stirring constantly until you can’t stir anymore. Empty the dough out onto a hard surface, allow to cool and knead until smooth. If you want to make the dough all one color, add the dye with the water. If you want to make separate colors, you can divide the dough into several pieces and knead the dye into each ball of dough. Check out this post for how to make natural dye for playdough.
2. Watercolor Paint
Ingredients:
- 1/2 cup baking soda
- 1/4 cup white vinegar
- 1/4 cup cornstarch
- 1 tsp light corn syrup
- food coloring (amount depends on how intense you want the color)
Combine all ingredients except the food coloring in a bowl and mix well. Pour into individual containers such as a small muffin tin, votive candle holders, an old watercolor paint container, styrofoam egg carton, ice cube tray or baby food jars. Add food coloring to each container, mixing with a toothpick or small spoon. Allow to dry overnight or until hardened.
3. “Edible” Finger Paint
Ingredients:
- 1/2 cup cornstarch
- 3 Tbsp sugar
- 1/2 tsp salt
- 2 cups water
- food coloring (amount depends on how intense you want the color)
In a medium saucepan, combine cornstarch, sugar and salt. Add water. Cook over low heat, stirring constantly, until the mixture has thickened and has no lumps (about 10 minutes). Remove from heat and allow to cool. Divide among several small containers, such as baby food jars or spice jars. Add food coloring to each jar and stir until mixed well. This paint is made with edible ingredients but it is not recommended that you eat it! It won’t taste very good!
4. Glue
Ingredients:
- 1 cup flour, divided
- 2 cups water, divided
- 4 Tbsp corn syrup
- 2 tsp white vinegar
Combine 1/2 cup flour, 1-1/2 cups water, corn syrup and vinegar in a small saucepan over medium heat. Stir until thickened. Remove from heat. In a small bowl, mix remaining 1/2 cup flour and 1/2 cup water. Add to the heated mixture and stir. Allow to cool. Store in refrigerator for up to three months.
5. Beeswax Crayons
Ingredients:
- 1 part, by weight, grated soap (any plain white bar soap will do)
- 1 part, by weight, beeswax pellets (or chopped beeswax)
- food coloring (amount depends on how intense you want the color)
Combine equal weights of grated soap and beeswax in a microwave-safe bowl. Microwave on a low setting until melted, stirring every minute or so (you can also use a double boiler for this step). Stir until smooth and there are no bubbles. Divide into several small bowls if you want different colored crayons (I recommend using disposable containers because beeswax is a pain to remove). Mix in food coloring until you have achieved the desired color. Spray mold (ice cube molds, muffin tins, pill bottles, etc) with cooking spray and pour mixtures into mold. Allow to cool and harden. Remove from mold. Recipe derived from Wee Folk Art.
For more kids’ craft inspiration, check out my Craft Ideas for Kids Pinterest Board.
For more eco-friendly and non-toxic art and school supplies, check out this list.
See this post for ideas on how to organize your kids’ art supplies.
Looking for eco-friendly school supplies? See this post.
Want more One Part Sunshine? Here’s how:
- Follow us on Twitter
- Like us on Facebook
- Check us out on Pinterest
- Subscribe to our email newsletter
